Here's what Winter 2015/2016 looked like:

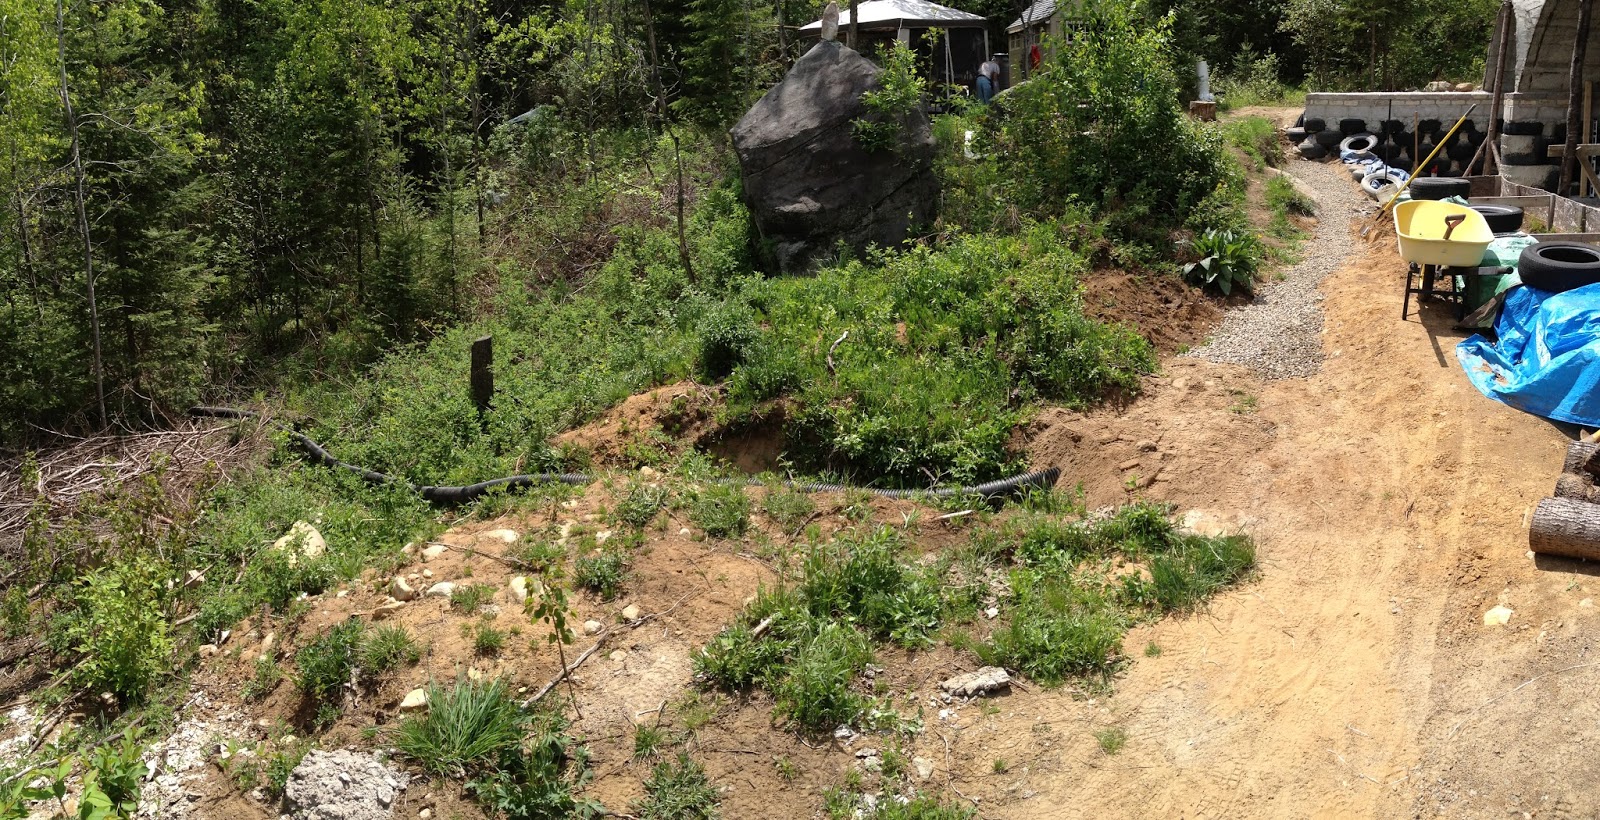
Big-O
In spring (mid May) there was water runoff at the front of the house, so we installed big-O across the front of the building to carry the runoff away from the building. There was bedrock in the way that we cut with a concrete saw (rented from the local hardware store Lake St. Peter Building and Supply). It's surprisingly easy to cut solid rock with modern equipment, and it only took about 2L of fossil fuel!
Internet
We connected to our neighbour Rocky's high speed internet (Bell fibre-optic believe it or not!) using a low-power microwave transmitter/receiver. Essentially it's like running a long ethernet cable from Rocky's place (across the street) to ours, but there's a break in between that's handled by the transmitter/receiver. In the trailer is a modem set up as a "repeater" and voila: off-grid (sort of?) high-speed internet baby! Thanks Rocky!!!
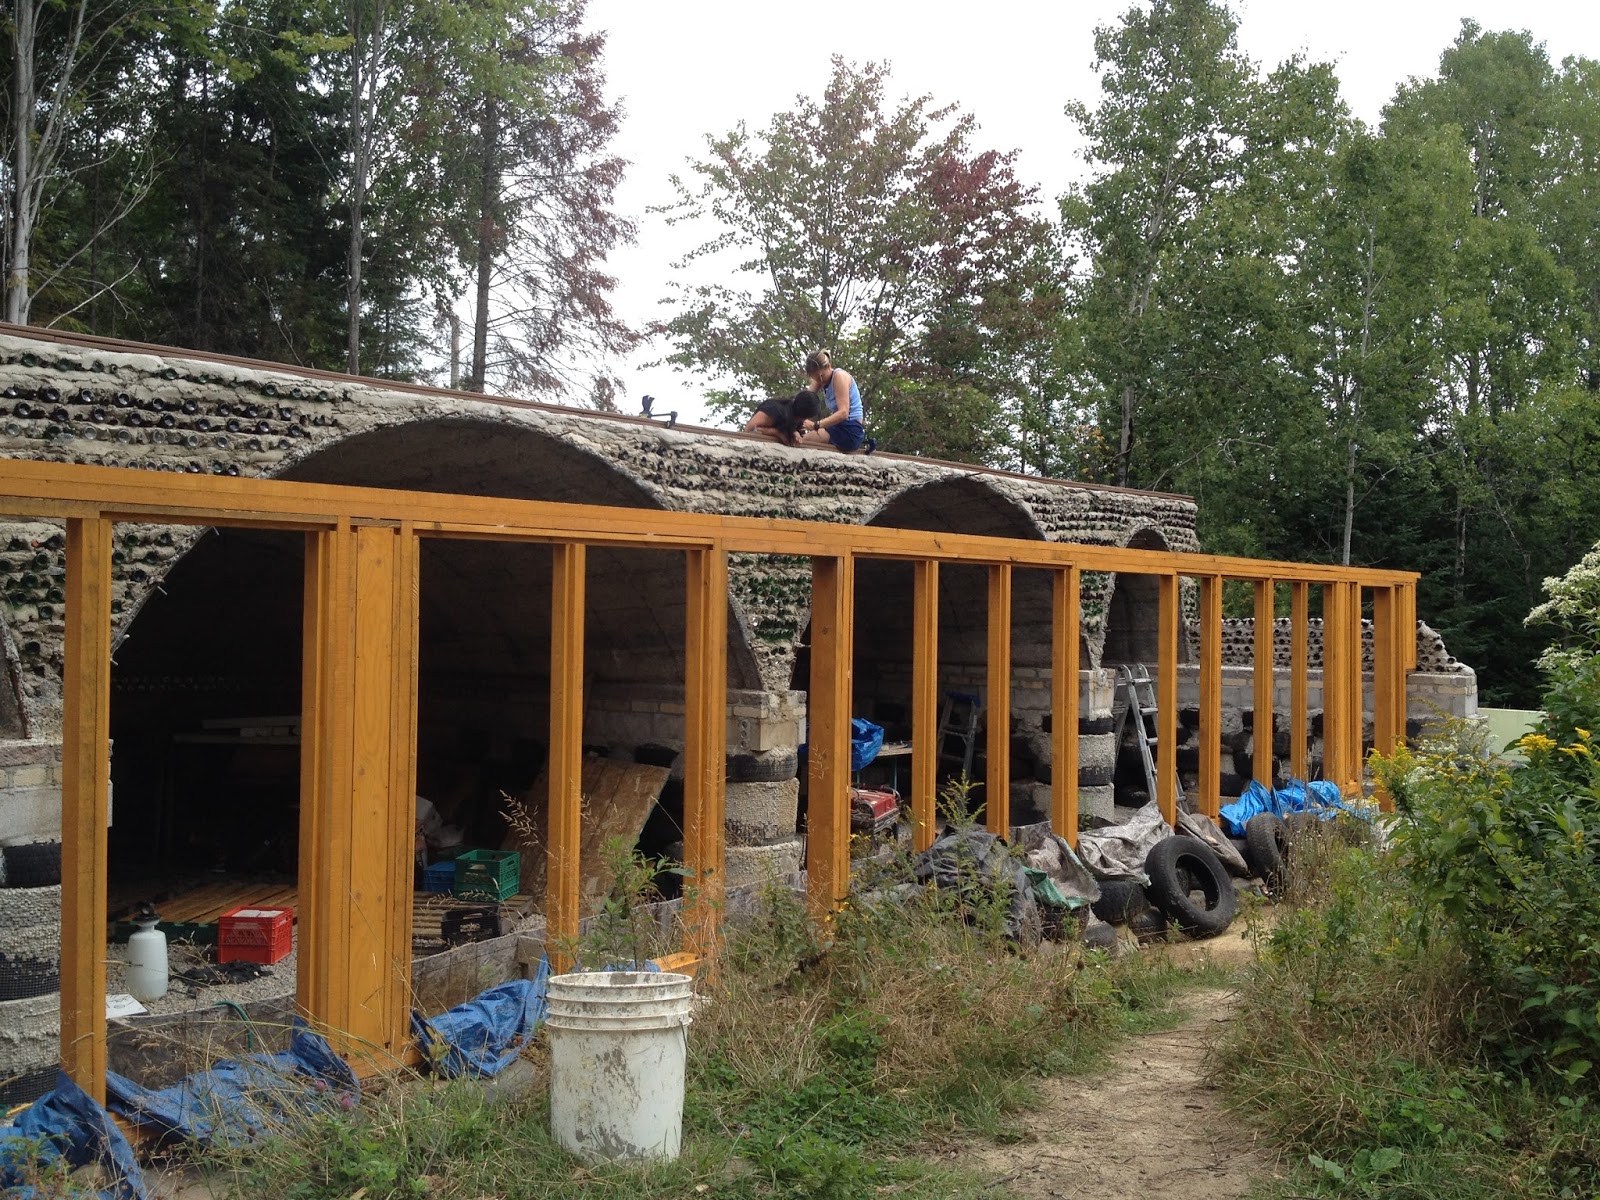
Greenhouse Masonry Wall
A beer-bottle masonry wall fills the space between the domes to form the back face of the greenhouse.
 Main Sewage Line
The main sewage line exiting the building is best installed below the frost line (up to six feet in this area!). However, we hit bedrock at three feet down (thank goodness actually because it was hard digging a trench that deep), so we insulated the four-inch ABS pipe with three inches of styrofoam (R12), which raises the frostline.
Entry Door Footings
Footings are poured for the two entry doors to the building. Again, the footings should go below the frostline but we hit bedrock at three feet down. However, the front face of the footings are insulated with three inches of styrofoam (R12), which raises the frostline. We put two PVC "chases" through the footing to run electricity and water to the front of the building.
Rebar prevents the footing from separating under tensile load:
Anchor bolts in place to secure the bottom of the door frame:
The footing for entry door #2 sat right on top of bedrock (no digging yay!). Again, three inches of styrofoam on the front face, rebar and anchor bolts.
Greenhouse Begins - YAY!
Construction of the south-facing wood-framed greenhouse begins (finally!). The bottom of the greenhouse frame where wood meets tires or concrete is the most susceptible to moisture, so the plans call for a composite material to be used here (we used "Trex" which is essentially bits of plastic and sawdust in a glue matrix that's pressed into shape). This material is more weather resistant than wood and requires no maintenance. The reason this material is not used for the whole greenhouse is because it's not structural (mainly used for decking). Not to mention it's quite expensive - a single 1" x 5.5" x 20' piece is $80! The 10 pieces we needed cost two-thirds as much as all the wood for the greenhouse frame!
Where there aren't anchor bolts to hold down the Trex plates, the plans call for three-foot long epoxy coated rebar "pins" to be installed (sledge hammered through the tires and one foot into the ground):
Speaking of wood, we used rough-cut hemlock from a local (mennonite) sawmill (Northwood Lumber). We chose hemlock because it is the hardest of the soft woods and weathers almost as well as cedar (AND, to our surprise it was less than half the price of spruce or pine!). We stained all the pieces (before assembly) with two coats of an environmentally friendly, made-in-Ontario product called "Sansin". Here's the completed main entry door frame:
The rest of the greenhouse framing references the main entry door frame:
That's it for now, stay tuned for greenhouse progress...