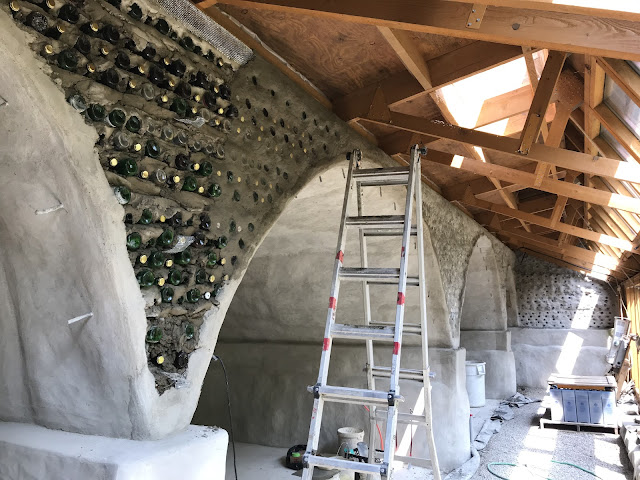
The progress of grouting the bottle walls to get a smooth finish.
All interior bottle walls fully grouted.
Notice that the bottles aren't really visible? Here are Preston and Pearson polishing the grout residue off the bottles and bottle caps. (Also Peter and Pauline starting to prep the greenhouse floor to build the planters... more on that below).
Here's Yelena taking over the task of bottle polishing.
All interior bottle walls fully polished - thank you Preston, Pearson and Yelena!
Time to build the greenhouse planters. We begin by leveling the gravel floor to the desired height. Thank you Peter and Pauline for beginning the process for us by removing the excess gravel!
Here's the final leveled greenhouse floor ready for the next step.

Next we outlined where the planters will go using floor marking spray paint.
We are now ready to start building the planters. Here are YP and Yelena starting to build our largest planter at the centre of the greenhouse using aluminum cans and cement mortar.
Centre planter built and here's Brice building the second biggest planter.
Brice continuing the planter build while Victoria and Bruce are making bottle bricks for the bathroom partition wall (stay tuned for a dedicated blog post on this in the near future).
All the planters built.
We put slate tiles on top for decoration.
Now we grout the planters for that smooth finish.

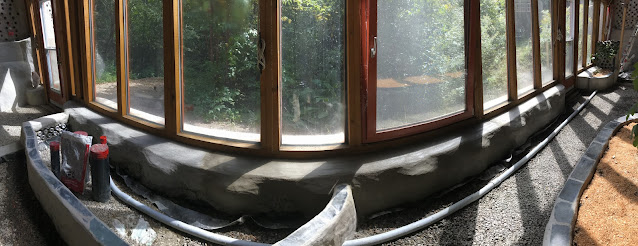
One last bit of stucco left to complete the interior finish. Guess what it is? Yes, it is the exposed tires in the stem-wall.
We need to do a bit of prep first. We used rigid foam insulation to build up the top of the tires to match the level of the greenhouse framing bottom plate. Then we installed diamond mesh on top as a mechanical backing for the stucco.


No comments:
Post a Comment